VERSION 1
DESIGN:
- Designed and sketched aircraft blueprint
- Created templates for fuselage, main wings, and stabilizers
- Traced designs onto 20′ x 10′ foamboard sheets
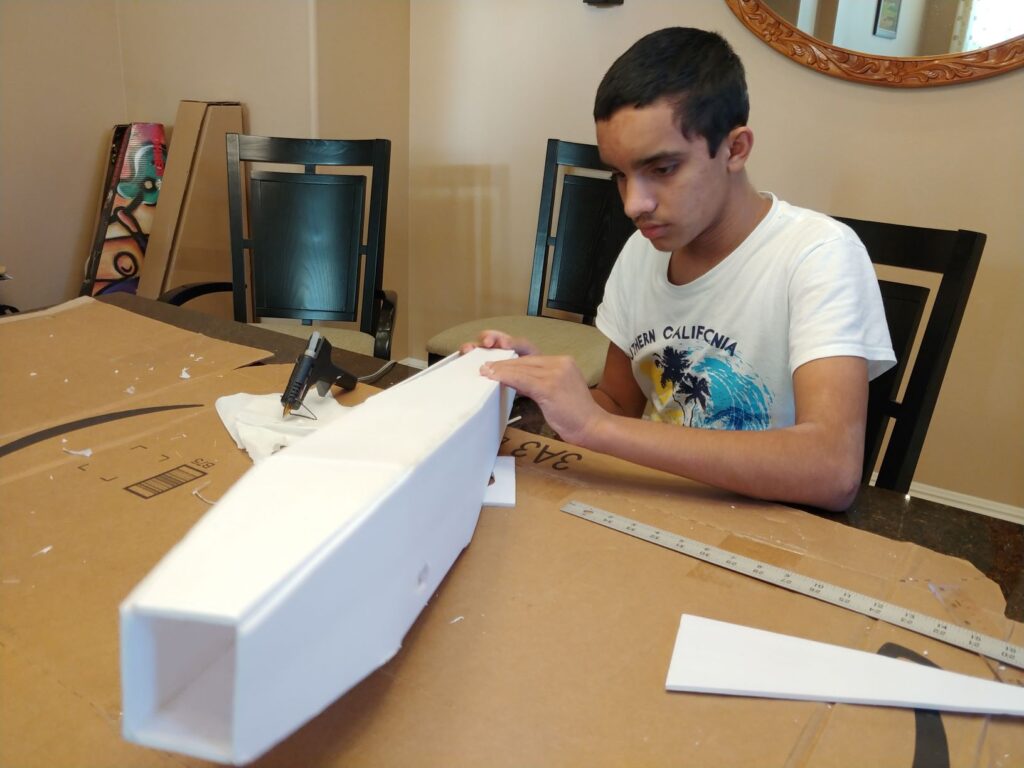
CONSTRUCTION:
- Cut, scored, and folded foamboard into the desired shapes
- Folded foamboard pieces around a spacer to create a flat-bottom airfoil for the main wings
- Created a bevel in the wings and stabilizers to create control surfaces
- Used hot-glue to attach the structural elements
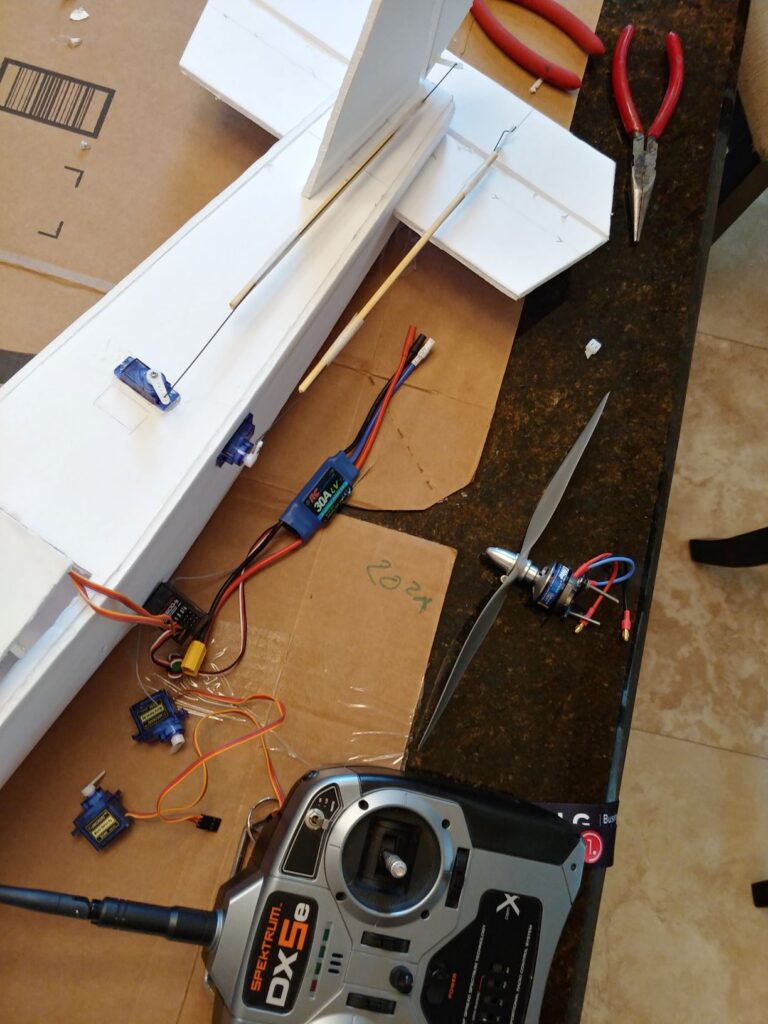
ELECTRICAL:
- Cut out inserts in the fuselage to hold servo motors
- Connected servo motors to the rear stabilizers and main wing control surfaces with pushrods
- Secured wooden dowels to the pushrods to increase rigidity of the pushrods
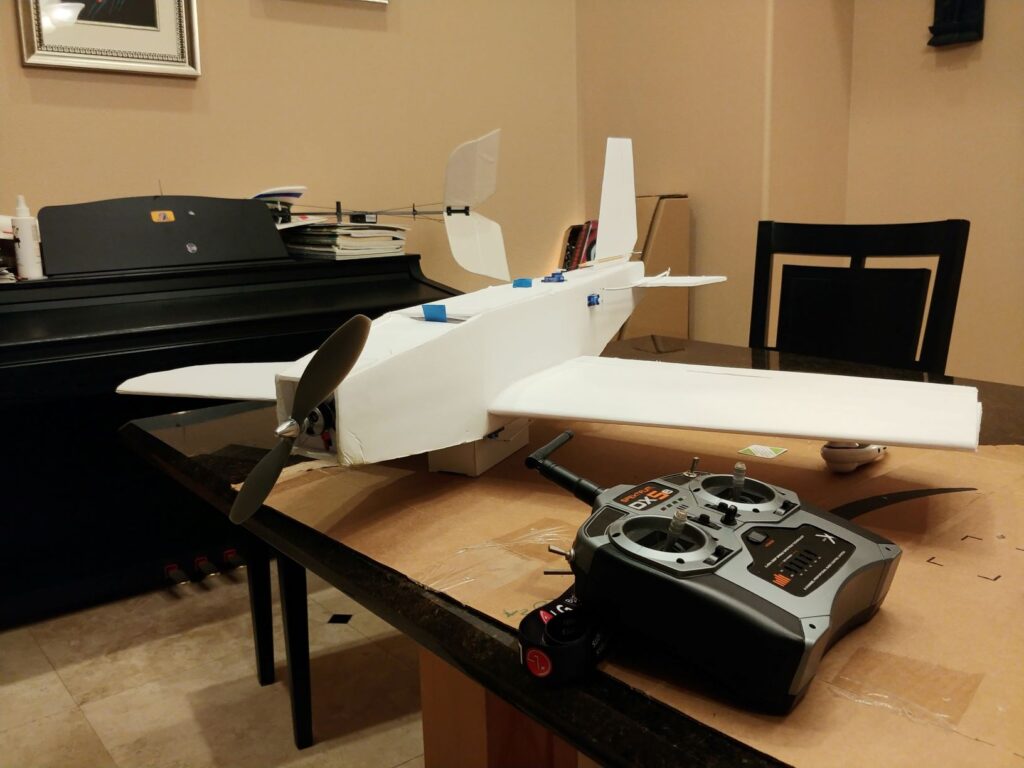
- Mounted a 1360 Kv (1360 rpm per 1 Volt applied at no load) out-runner motor to the nose, and attached a 10″ propeller. Motor was connected to an ESC and all 4 servos were connected to a 5GHz radio receiver. All electrical components powered by a 3 cell, 11.1V, 1300 mAh Li-Po battery.
First Test Flight (V1) and Crash:
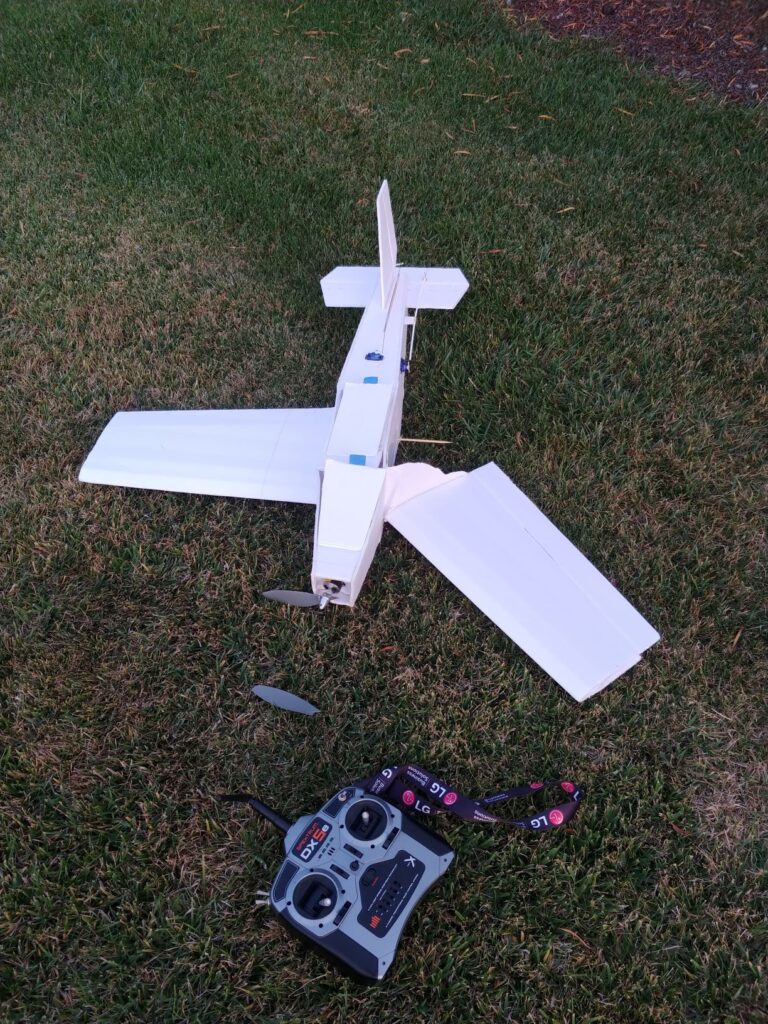
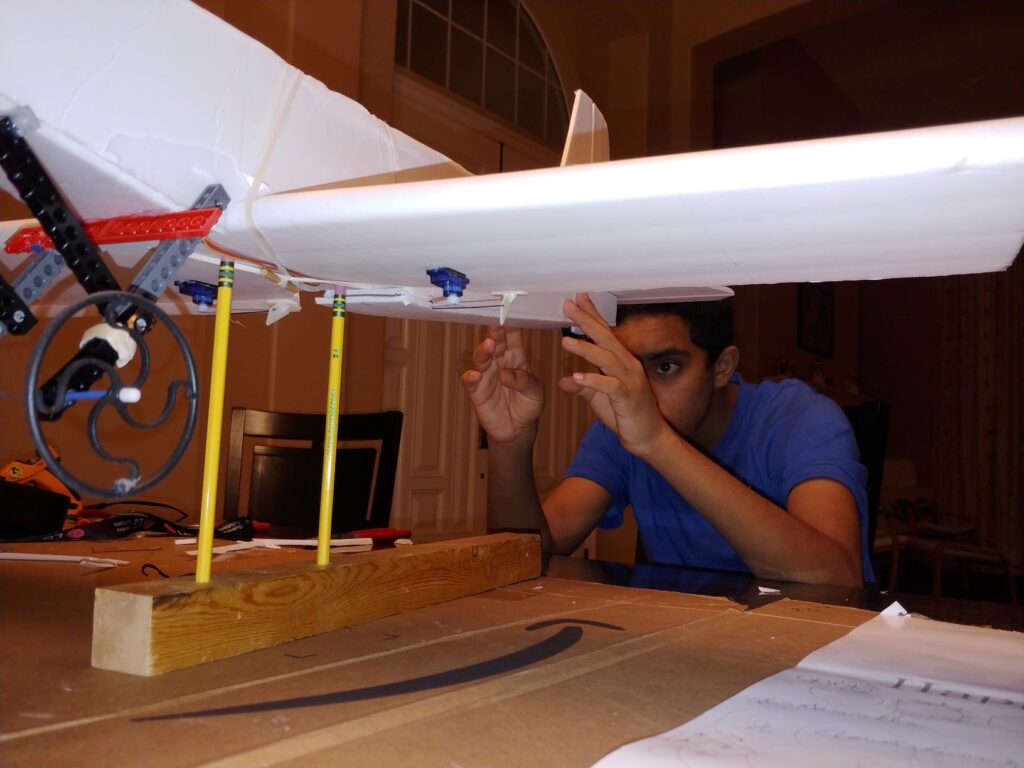
VERSION 2: (Rebuilt for crash tolerance and better handling)
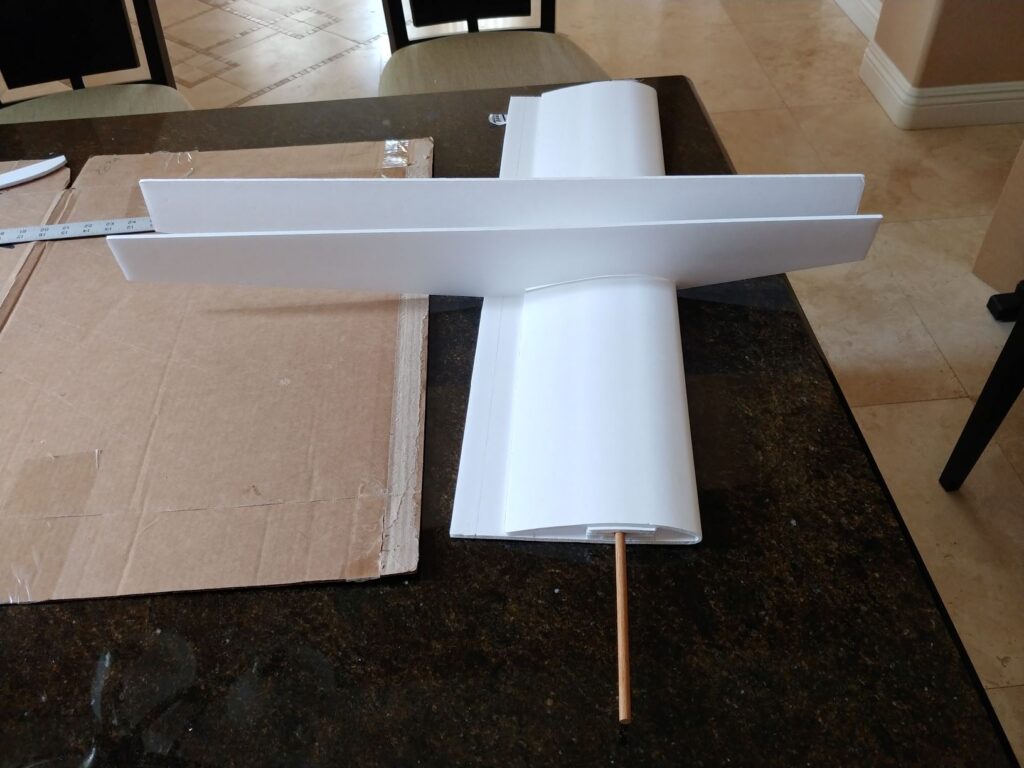
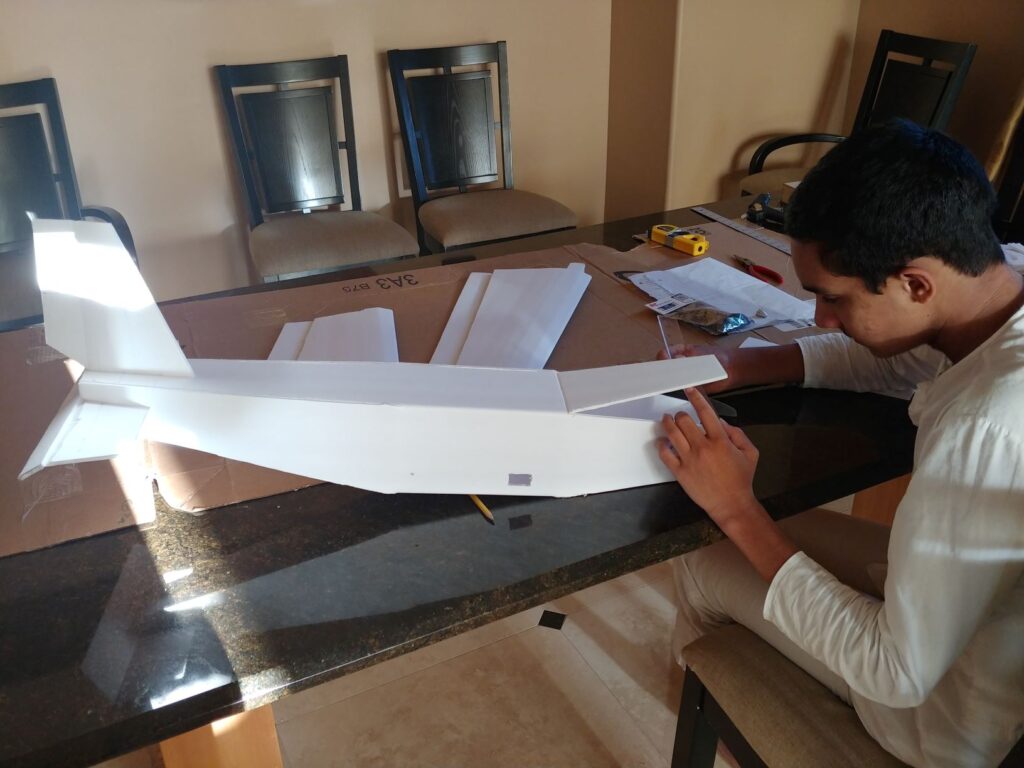
Wing Design:
- Wing surface area was increased to produce more lift.
- Entire wing constructed as a single part with a wooden spar, and held underneath the plane for better crash tolerance
- Control surfaces shrunk to lessen the “twitchy-ness” of the aircraft
- Aircraft was balanced more precisely to prevent auto-roll to one side while flying
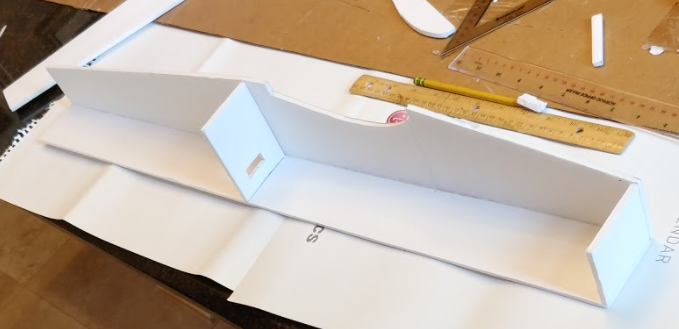
Fuselage Design:
- Removed horizontal tapering of fuselage
- Reduced number of folds and cuts to reduce the number of weaker joints
- Easier to build, and take apart if needed
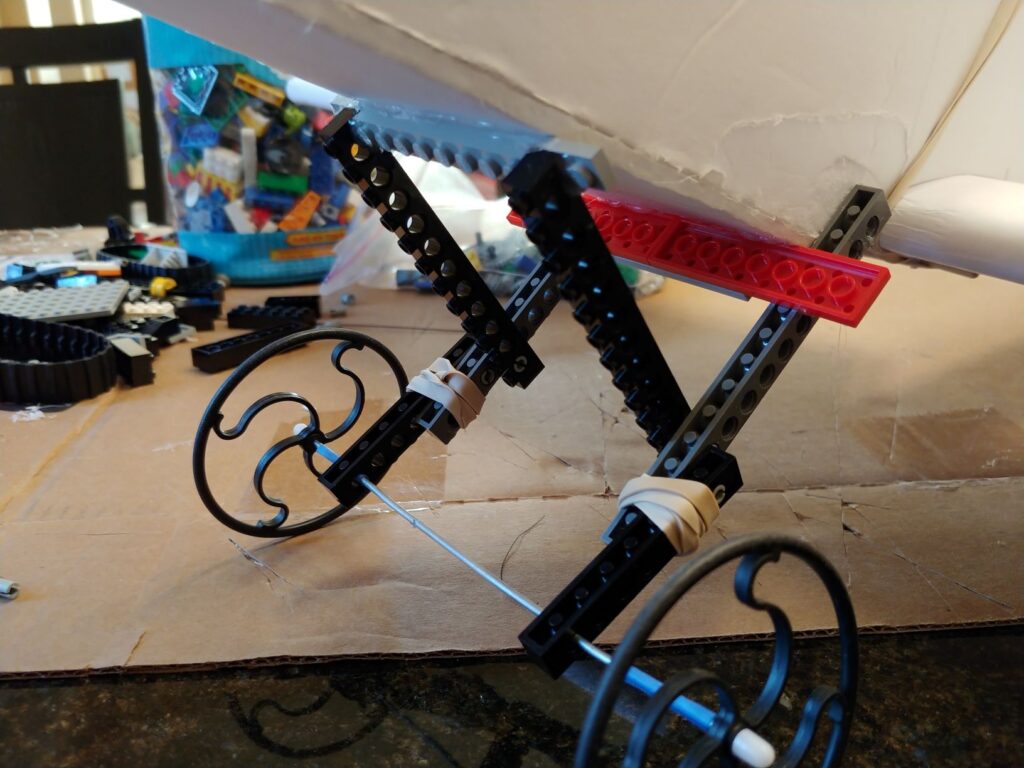
Landing Gear:
- Landing gear added for easier takeoff and landing
- Suspension system made using rubber bands as shock absorbers to reduce stress on the fuselage during landing
V2 Landing Gear Test:
V2 Short Hop Attempt: (Not Enough Rudder and Aileron Authority)
V2 Successful Short Hop Test:
V2 First Successful Flight:
VERSION 3: (Stronger Nose to Handle Motor Torque and FPV Camera and Transceiver)
Aircraft Balancing:
- Adjusted the balance about the lateral and longitudinal axes to prevent the plane from auto-rolling while flying
- Used 2 pencils as a fulcrum and adjusted the weight distribution by adding small weights
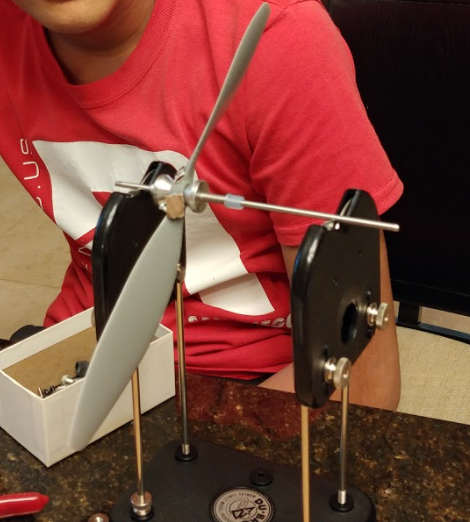
Propeller Balancing:
- Balanced the propeller weight evenly to make sure the rotation of the propeller was smooth at higher RP
Propeller Balance Test:

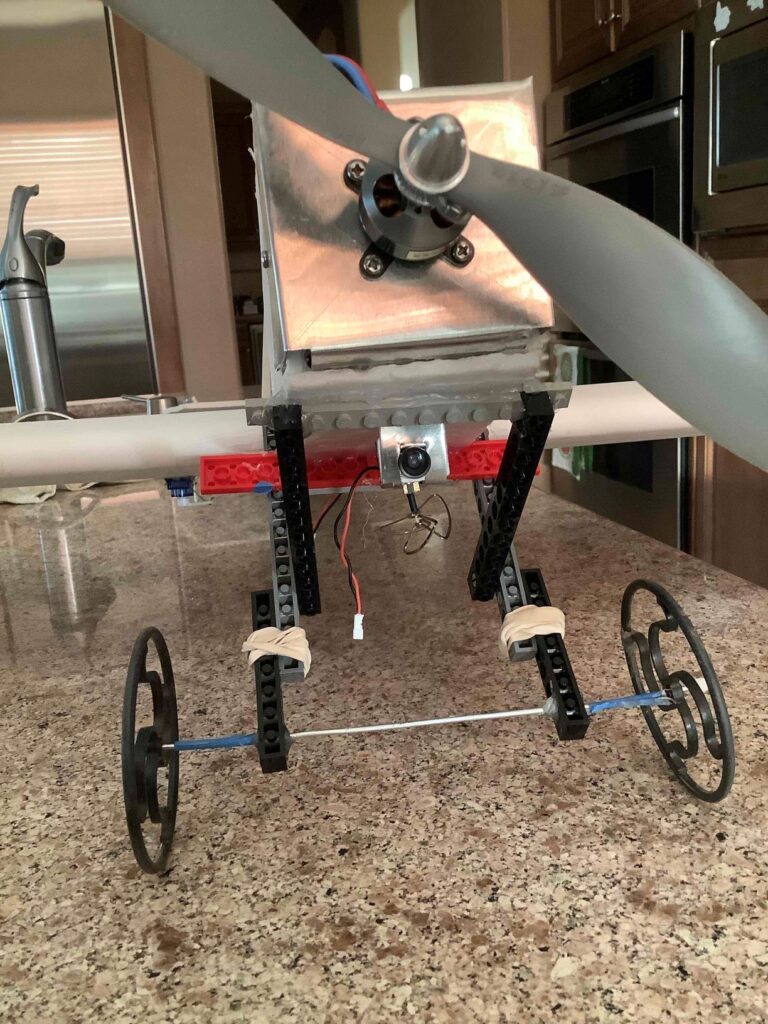
Nose Upgrade:
- Swapped plastic nose plate for a aluminum plate
- New nose design and metal plate was much stronger and able to stay undamaged while the motor was running at full power
- Motor mounted to the metal plate with 4 screws
Nose Cover Fabrication:
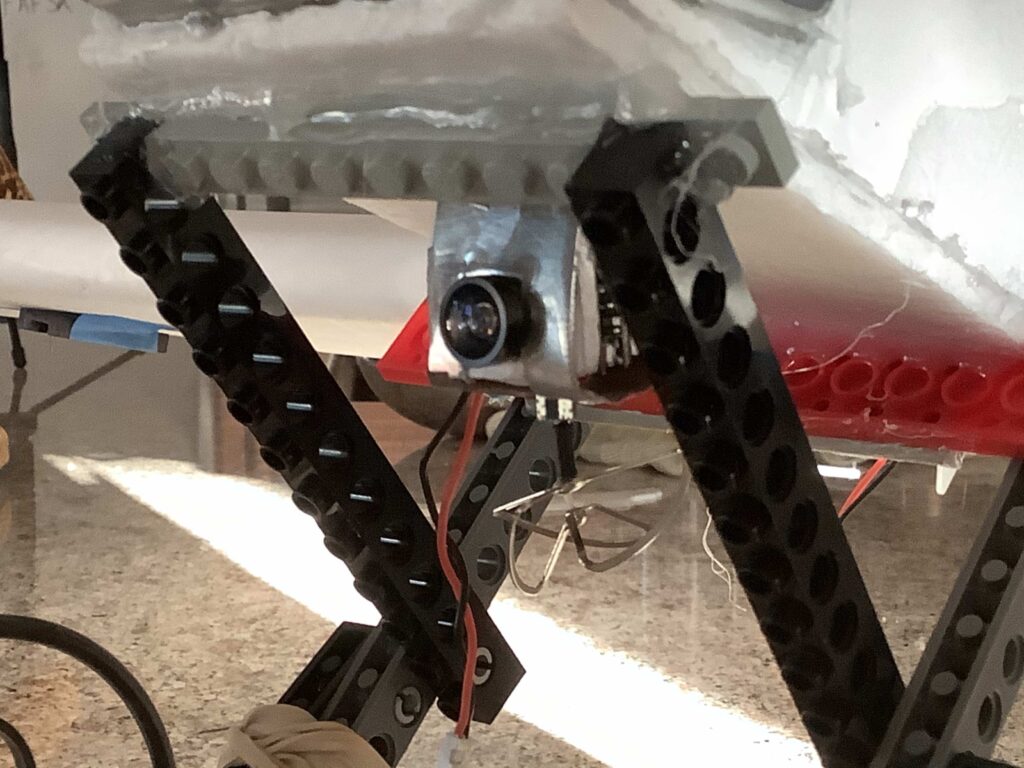
FPV:
- Mounted a small FPV camera with a 5GHz transmitter + antenna using a metal L bracket on the underside of the nose
- Camera provides a live feed to the connected device for FPV flying
First FPV Flight:
Aerobatic Demonstrations (FPV Camera): Takeoff -> Flight -> Loop -> Roll -> Landing